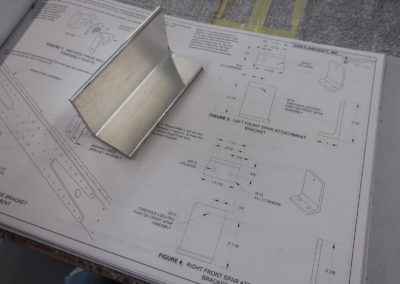
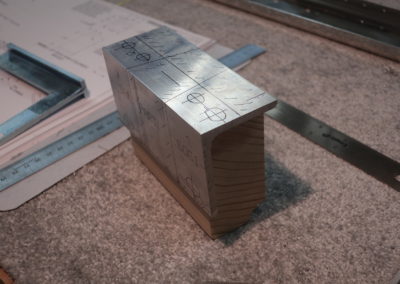
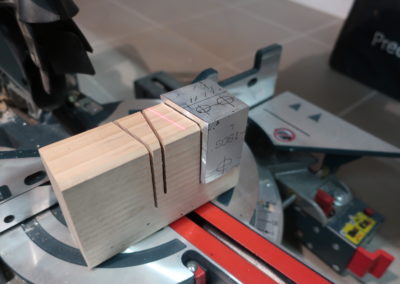
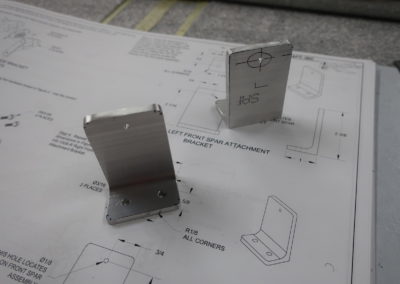
Or explanations on the methods and technique used to build a kit plane…
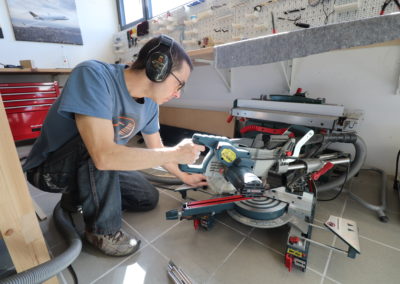
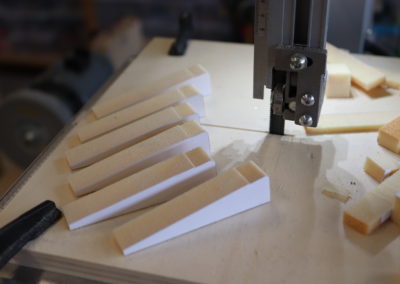
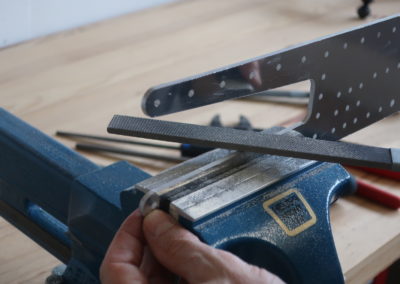
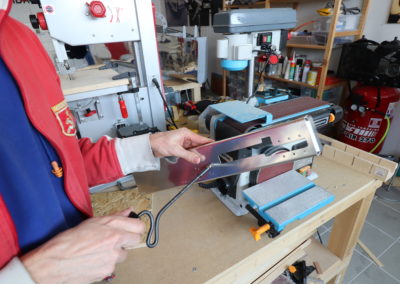
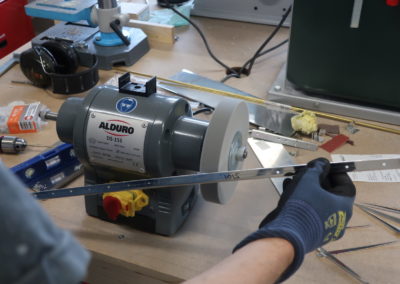
The plans are the live wire of the built, it’s a real pleasure to work with them, all steps are very detailed, you just have to follow through, page after page, like reading a good book. Fabricating parts is really kept to a minimal, there are some angles to be cut, some ribs to be built, some parts to be created from raw material but the vast majority of parts are almost ready to be assembled. On the other end, all parts need to be deburr as the fabrication process used by the manufacturer (hydraulic press) leaves asperities on the edges, sometimes significant, which require a good work with the file and later the polishing wheel. The goal is to have clean parts with no asperities which could be the starting point of cracks when exposed to flying stresses.
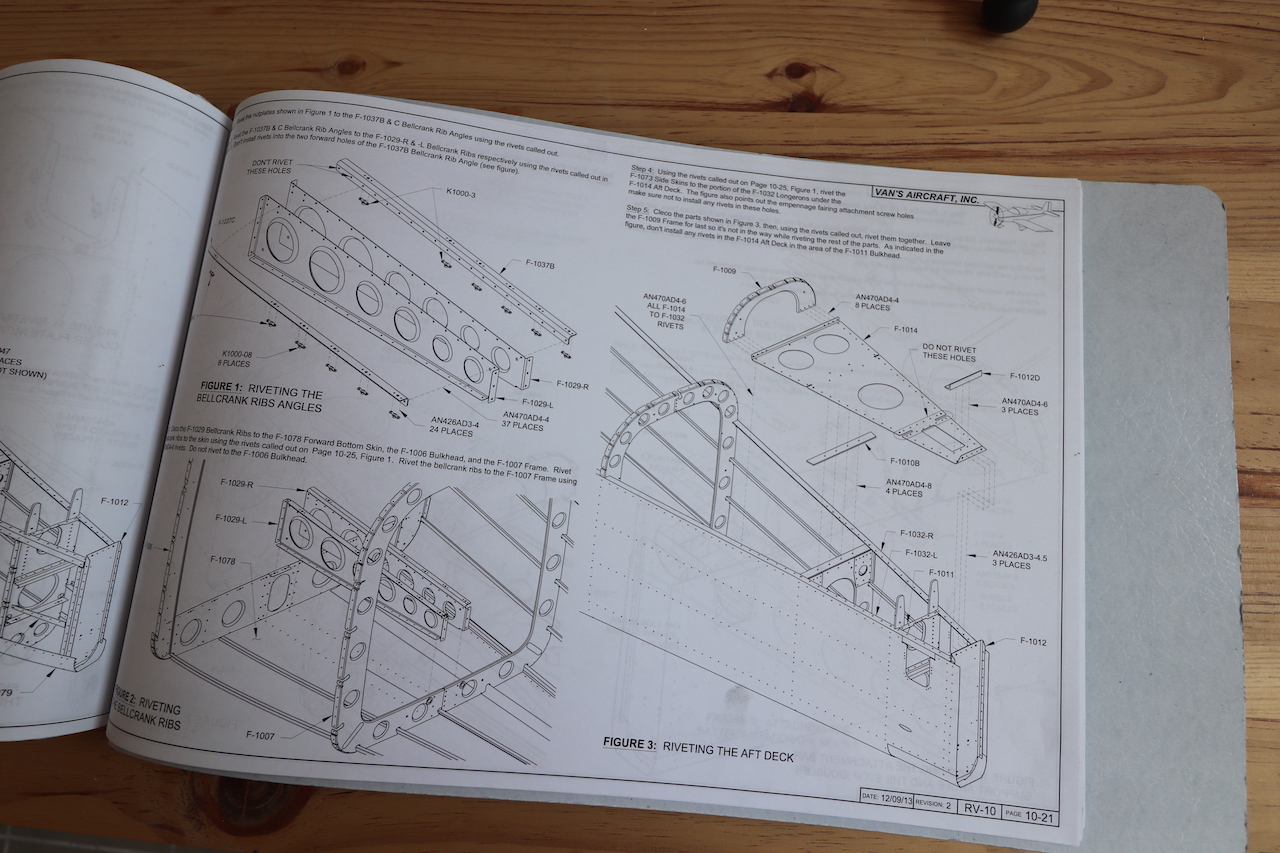
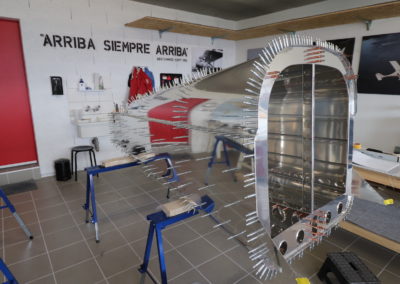
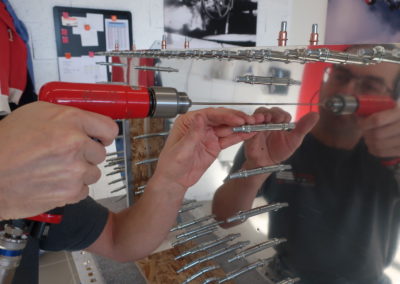
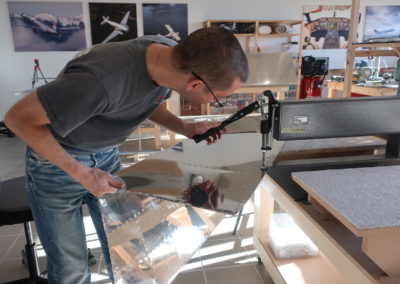
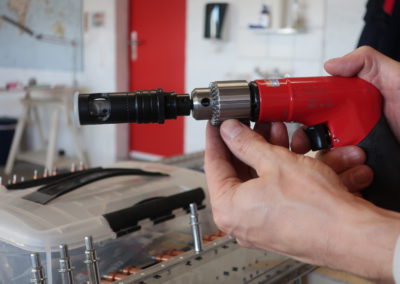
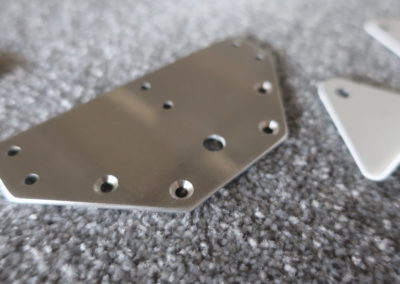
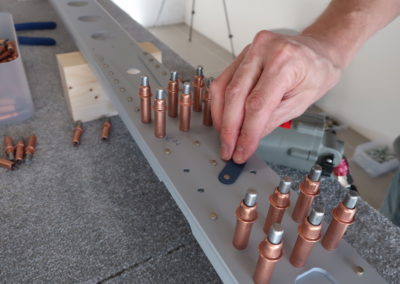
Then comes the trial assembly of each structure with sometimes hundreds of clecos (temporarily fasteners) to be able to drill each hole to the correct diameter and well aligned between each element. Some of those holes will be countersunk if the receiving rivet needs to be flush or dimpled for the majority of the skins to improve the aerodynamics with clean external surfaces.
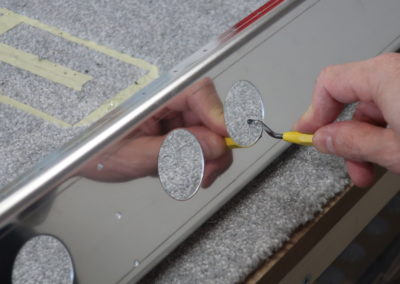
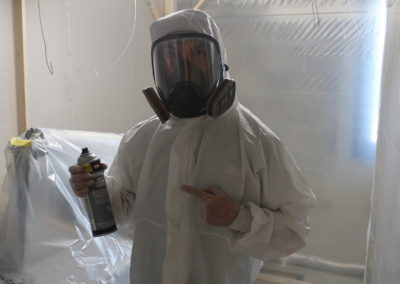
After having proudly look up to your work it’s time to dismantle everything ! the next step consist of cleaning each part, deburring each drilled hole before painting. Aluminium is already covered with a thin layer of Alclad for corrosion protection but another thin layer of primer is nevertheless applied, not absolutely necessary but it’s one of several choices and decisions to be made while you building a flying machine !
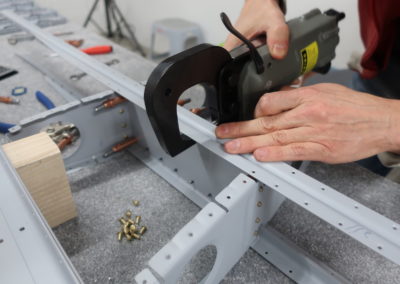
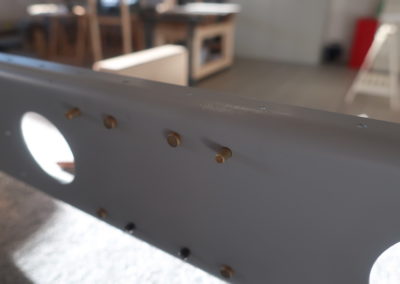
Final assembly can start now, setting the rivets with a pneumatic squeezer for a regular result but limited by the width of the jaw or with the rivet gun and bucking bar for the other assemblies. Finally you have to check each set rivet by measuring its shop head which must have a precise diameter and protruding length.
For the rest of the structure it’s just : rinse and repeat….

